🎯 The Premise
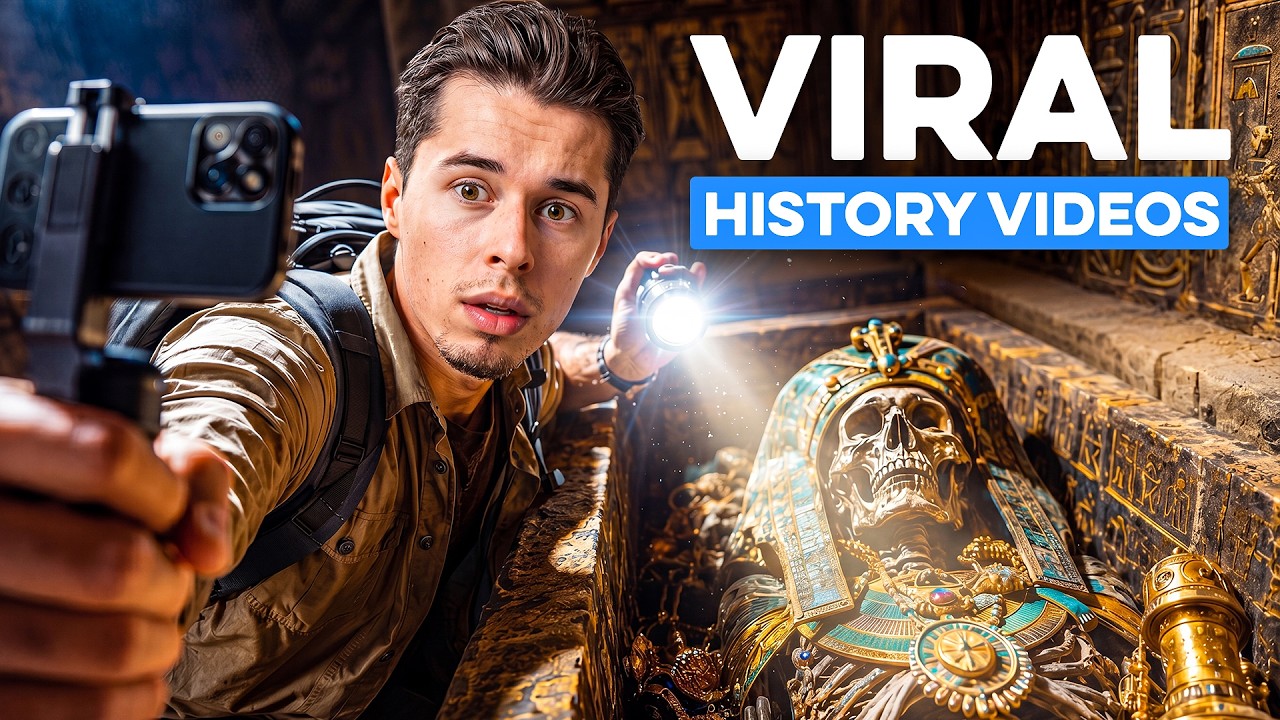
"Chloe vs History" is going extremely viral right now — the format of an AI influencer time-traveling to a historical setting and vlogging it. The author recreates it in under 20 minutes from nothing. "This is where all the power is right now." 0:00
The whole stack: Claude (story planning) → Higgsfield (characters, locations, video generation, voice) → CapCut (edit & export). One prompt produces the full scene breakdown + dialogue + voiceover directions before a single generation tool is opened.
📝 Step 1 — Story & Structure (Claude)
The foundation everything else builds on. A prompt template does the hard work for you. 0:16
| Template field | What it specifies |
|---|
| Format | A 60-second AI history vlog for YouTube |
| Location | The exact historical place (Kamakura, Japan) |
| Time period | 1250 AD |
| Creator | Your own AI influencer (the person filming) |
| Vibe | The mood/emotion the video should give off |
| Camera style | How it should be filmed |
What Claude returns: an 8-scene breakdown (hook → B-roll → first real scene → …), plus dialogue and voiceover directions for each scene. "This would take me 30 minutes to come up with on my own — Claude gave it back in seconds." The same chat later generates the location prompts.
🔗 Full workflow document (Google Doc) · Free Prompt Generator
👤 Step 2 — Character Sheet (Nano Banana 2)
Inside Higgsfield → Cinema Studio → model Nano Banana 2 → quality 4K. Upload a reference image of yourself, then: "Create a multi-view character sheet of this person. No text." 2:45
Why a multi-view sheet matters: you get 5 shots at different angles, plus close-ups of eyes/mouth/ears — so the video generator "knows exactly how you look from every side." It removes weird face shifts between clips.
The pro move — fresh sheet per outfit: beginners create an image with the desired outfit and use it as a second reference. The reliable way: generate a new character sheet with you already wearing the exact outfit. "Don't use two reference images — take the extra step and make a fresh sheet with your character already wearing it. It makes a big difference in quality."
Saving as a character reference: download the image → left panel → Elements → New Element → upload → name it → category Character. 4:35
🏯 Step 3 — Locations (Cinematic Locations)
Stay in Cinema Studio, but pick Cinematic Locations from the model selector. Higgsfield trained this feature on cinematic footage only — "even if you screw up the prompt, you'll still get a shot straight out of a movie." Keep 4K resolution. 5:06
| Location | Look achieved |
|---|
| Old market street | Darker lighting → old-documentary feel |
| Busy market | Respected the prompt — old Japan, old-fashioned clothes |
| Courtyard | Calm, neat, natural colors (no AI over-bright greens) |
| Hillside temple | Colder, serious — "what Japan was like a few hundred years ago" |
The key detail: the location prompt always carries the place (Kamakura, Japan) + the time period. Generate location prompts in the same Claude chat as the story for consistency. Save each as category Location (same Elements flow as characters).
"The trees aren't that over-bright green you usually get — the thing that instantly makes an image look like AI. This looks like a photo you'd take with your iPhone."
🎬 Step 4 — Video Generation (SeaDance 2.0)
Head to the Video section → model SeaDance 2.0 — "one of the strongest models out there, really good at natural movement and human emotion." 1080p, 16:9, audio on (so SeaDance creates ambient sound). 7:11
| Scene type | References attached | Why |
|---|
| Hook / talking scenes | Character sheet + location | Consistency of face + place |
| B-roll (clean shots) | Location only (no character) | Clean establishing shots between talking clips |
| Outfit-change scene | Swap modern → period character sheet | "Same face, different outfit" — clean swap, no AI-forced blend |
The realism trick — shake it: "the camera needs to feel a bit shaky because my character is filming himself like a real travel vlog. If it looks like a perfect cinematic shot, it'll come across as a polished AI clip." The phone's screen even shows the camera feed changing — "little details like that are the difference between AI slop and something that goes viral."
Watch the language switch: when a clip goes English → Japanese ("konnichiwa"), SeaDance handles it differently each generation — timing/pronunciation shifts. "This is one you might have to generate a couple of times."
🎙️ Step 5 — Voice Cloning (Change Voice)
Every SeaDance clip has its own random AI voice. Fix it in the Audio tab → Change Voice → swap the random voice with your own cloned one. 12:07
How: choose a voice or Create Custom Voice (upload a reference video of your voice). Apply to every talking clip — skip B-roll (no voice there).
✂️ Step 6 — Edit & Export (CapCut)
Drop all generations into CapCut, place on the timeline, trim where needed, export at 1080p. 12:52
💡 Pro Tips
- Multi-view character sheet beats single reference. Five angles + face close-ups = the generator knows your face from every side.
- Fresh sheet per outfit, not two references. Don't mix a character sheet with a separate outfit image — regenerate the sheet wearing the outfit.
- Cinematic Locations is trained on film footage. Even a bad prompt yields a movie-quality shot.
- Shaky, handheld camera = realism. Perfect framing reads as AI; slight shake reads as a real vlog.
- Natural color matters. Over-bright greens/yellows are the tell of AI; cinematic locations give iPhone-photo realism.
- Regenerate the language-switch clips. SeaDance is inconsistent on English→Japanese transitions.
- Clone your voice last. Audio tab → Change Voice turns random AI voices into "you."
🏁 Key Takeaways
- One Claude prompt = the whole plan. 8 scenes + dialogue + voiceover directions, before any generation tool opens.
- Consistency is a workflow, not luck. Multi-view character sheets + cinematic locations + saved element references = no drift between clips.
- The outfit swap is the killer feature. Period sheet vs modern sheet — same face, clean outfit change, no AI blending.
- Realism lives in imperfections. Shaky camera, phone-screen details, natural colors — not polished cinematic shots.
- Voice is the last consistency fix. Change Voice clones your voice onto every talking clip.
- The whole thing is <20 minutes. From nothing to a full 60-second history vlog.
📍 Timestamp Index
0:16 Story & structure (Claude)
2:45 Character sheet (Nano Banana 2)
4:35 Saving character references
5:06 Locations (Cinematic Locations)
7:11 Video generation (SeaDance 2.0)
12:07 Voice cloning (Change Voice)
12:52 Edit & export (CapCut)